
Code-based Actions: Upload images
A bot can do much more than answering simple FAQs. In this article, you will learn how to use a bot to send images to the end users. It is helpful if the user can upload a picture of a payment receipt. Let’s have a look at how we can handle those images.
- Create an entry point.
Through this entry point, we need to instruct and prepare the user to upload a picture or image. A common case is when a user asks if there is any warranty. In most cases, there is, but the organization needs a payment receipt. We can ask the user if they have a payment receipt. If so, we can start the Upload Receipt procedure.
-
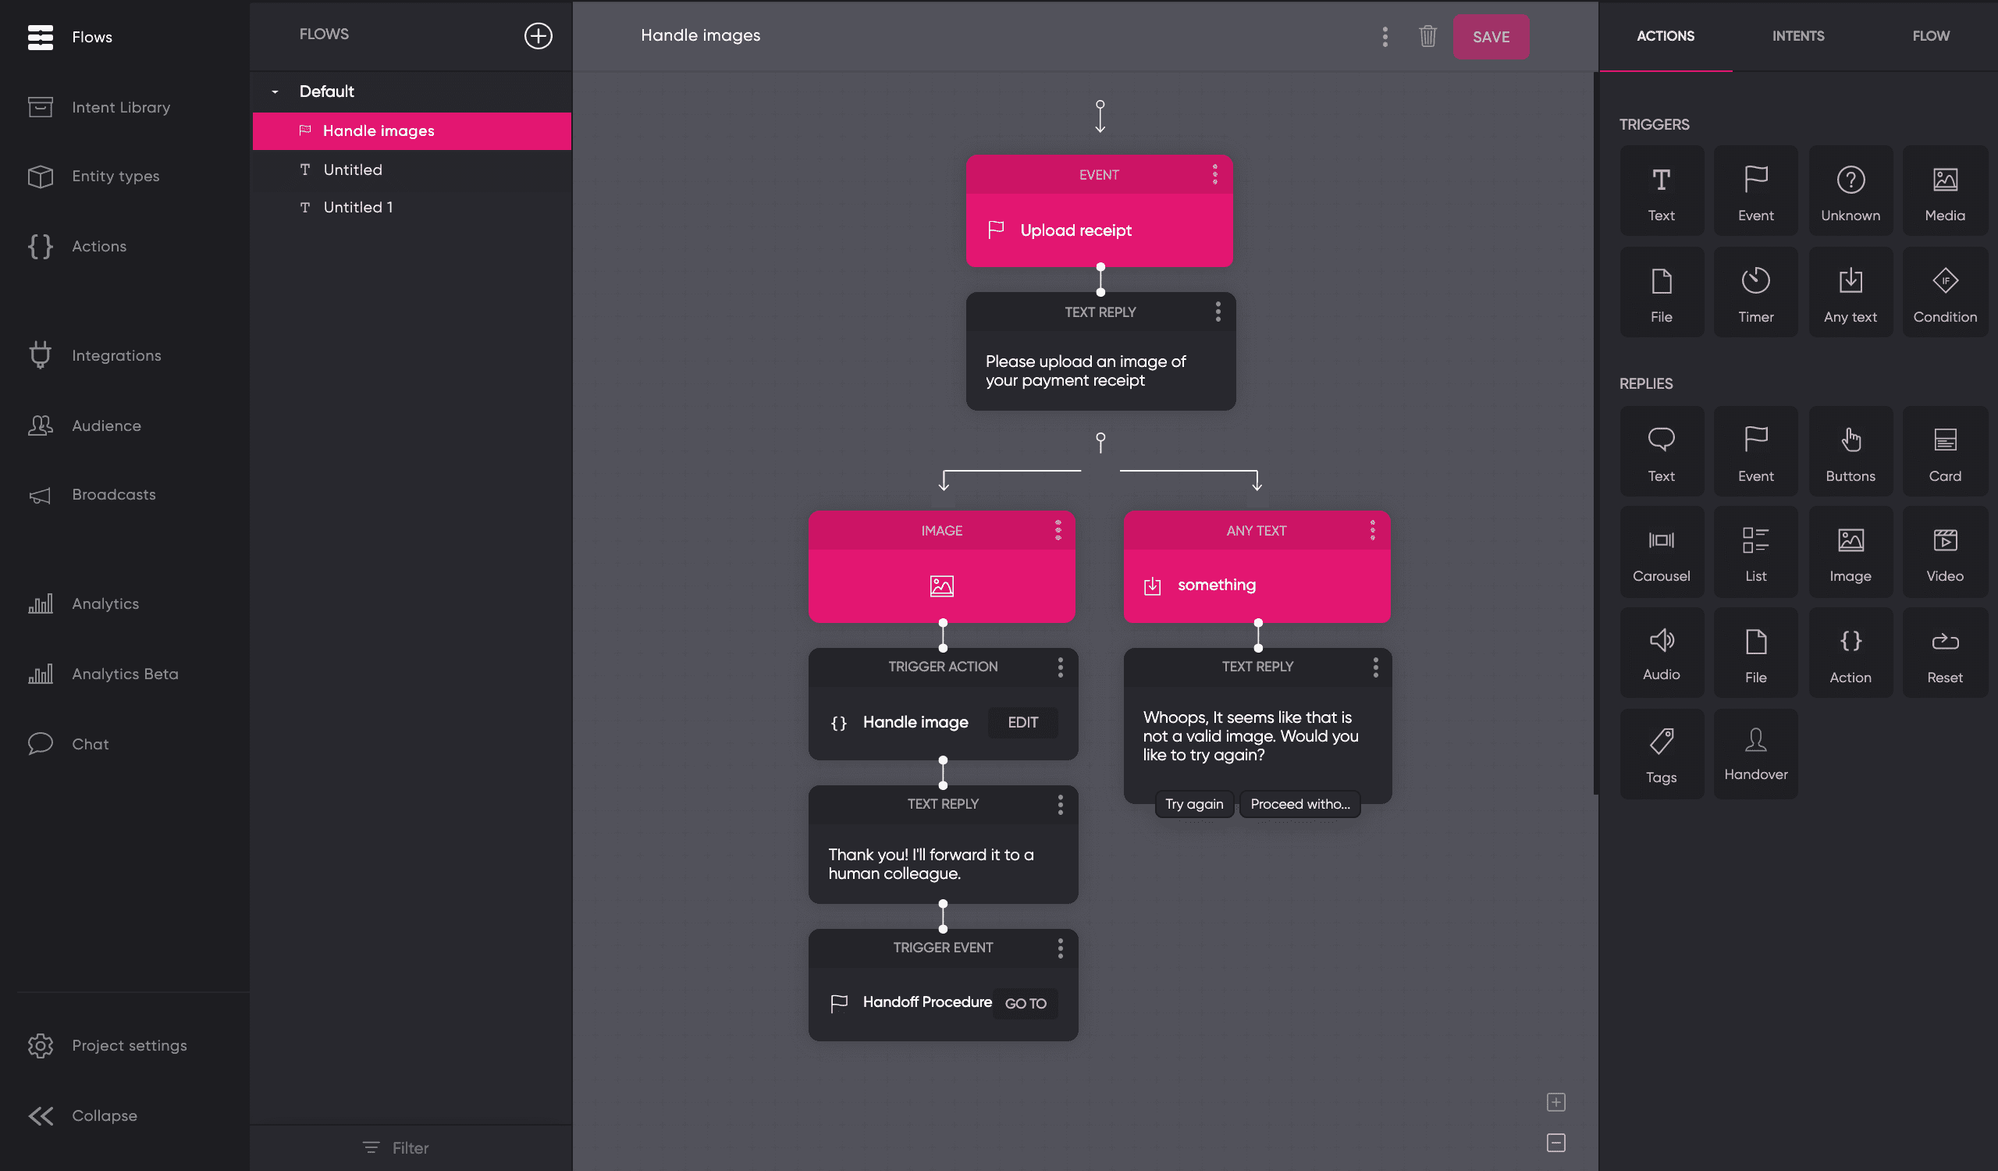
Manage the images.
Drag and drop the Media trigger on your canvas. Also, create a branch that will work as a fallback. If the user can’t find the image or for some reason is unable to upload it, always provide a solution. -
Manage images with code.
The uploaded images will be hosted in the cloud with a specific URL for reference. The example below displays how to send the image URL to a pre-defined email address using Actions.
async payload => {

  var image = "-"
  // Check if the param "image" exists
if(Array.isArray(payload.params.image)) {
 var image = payload.params.image[0].value
  }

  toolbelt.email({
  to: '[email protected]', // \<-- Your email address
  subject: 'New image via chatbot',
  message: `image url: ${image}, <br/>`
})

}
Go beyond simple automation
Image extraction and recognition can be done to check if the user is uploading a payment receipt. Read more about bot to human handoff to save time and improve the customer experience.
Updated 2 months ago